Tuckerton Seaport (Tucker's Beach Replica) Lighthouse
(17 pictures in the archive.)
 - The porch on the back of the lighthouse.
 - Backside of the lighthouse.
 - Side view of the lighthouse.
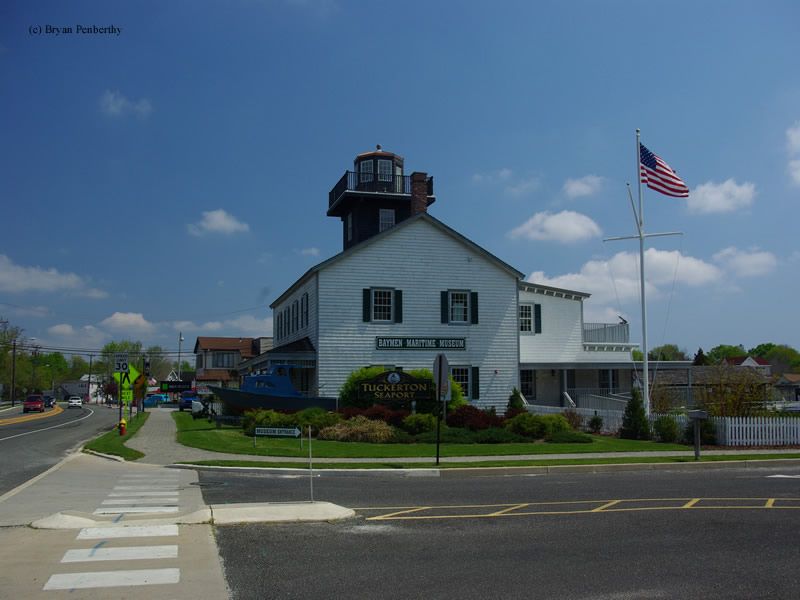
 - View of the lighthouse from Route 9.
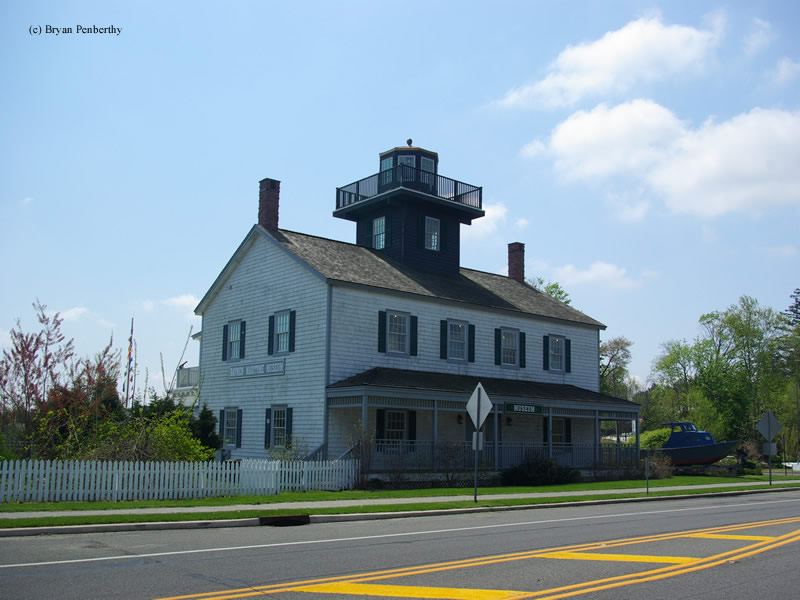
 - Front view of the lighthouse.
 -
-
 - Frontal view of the lighthouse.
 - Side view of the lighthouse.
 - Entrance from the Seaport to the lighthouse.
 - The lantern room of the lighthouse.
 - The Brandywine Shoal third order Fresnel lens.
 - Old hand-driven fog horn.
 - Brandywine Shoal lighthouse sign next to the Fresnel lens.
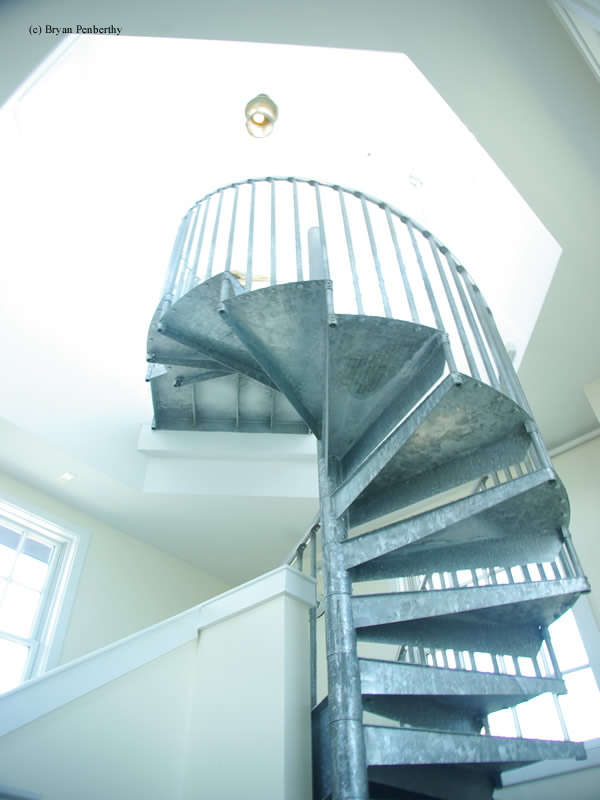 - Spiral staircase to the lantern room.
 - View from the observation area at the top of the lighthouse. This is a view of the Seaport.
 - View of the door to lead back into the tower.
 - The Life Car on display inside the lighthouse.